Let’s explore how to build a fully interactive 3D scene on the web using React, Three.js, and Blender.
Whether you're creating a portfolio, game environment, or immersive brand experience, this guide walks you through modeling in Blender, exporting to GLTF, rendering in the browser, and hooking up custom interactivity with ReactJS.
Tech Stack
| Tech | Description |
|---|---|
| Next.js | React framework for the web |
| Three.js | WebGL based 3D engine |
| Blender | 3D modeling & animation tool |
Example Scene
Disclaimer: Everything you see in this room was created by me without vibe-coding. :flex:
Let's explore!
- Set up a basic 3D scene in the browser using Three.js and React
- Export models from Blender
- Trigger animations and build interactive experiences with event handling
0. Project Setup
Scaffold project folder with npx and nextjs
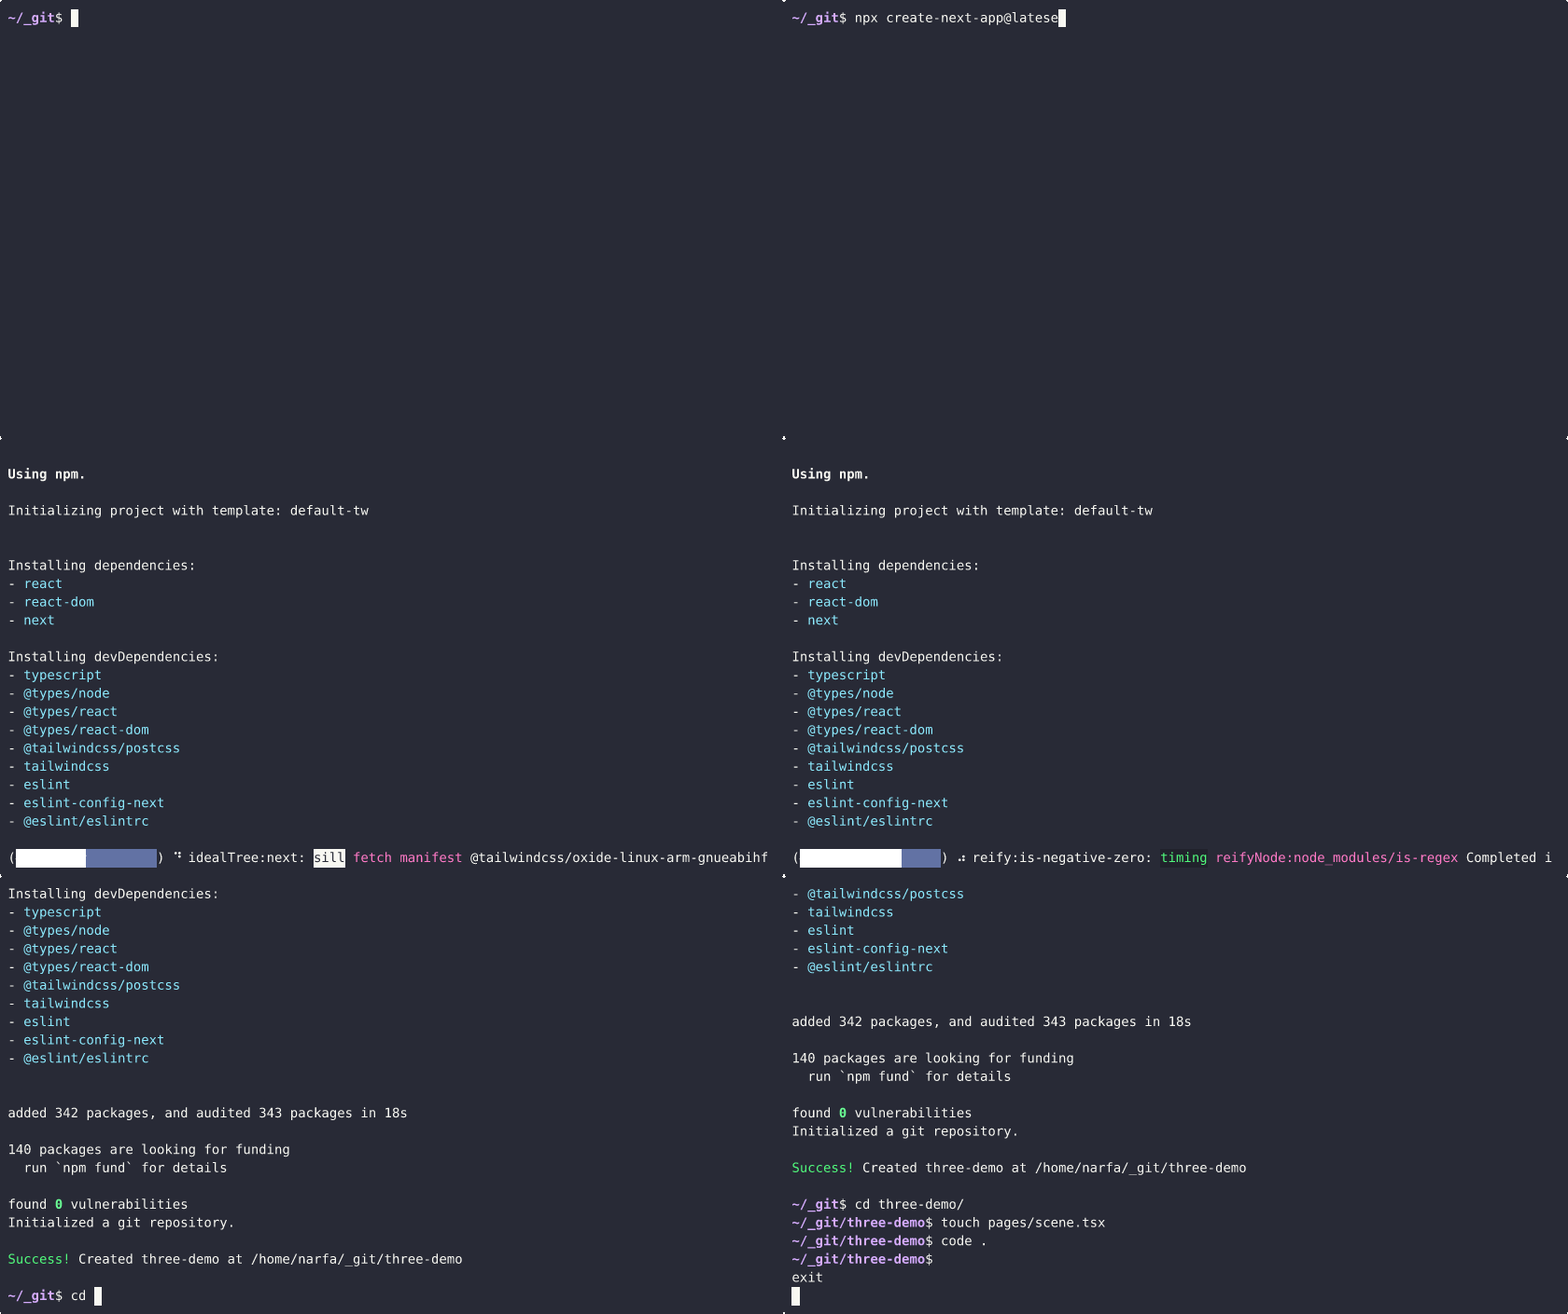
# Create project folder
npx create-next-app@latest three-demo

# Navigate to it
cd three-demo

# Make scene file
touch pages/scene.tsx

# Install dependencies
npm install three
npm i --save-dev @types/three
1. Building the 3D Scene with Three.js
We’ll start by initializing a minimal scene with a simple environment, a camera, a rotating cube.
pages/index.tsx
import Link from 'next/link';

export default function Home() {
    return (
        <main style={{ padding: '2rem' }}>
            <h1>Welcome to the 3D Demo</h1>
            <Link href="/scene">Go to Scene</Link>
        </main>
    );
}
pages/scene.tsx
// pages/scene.tsx
import { useEffect, useRef } from 'react';
import * as THREE from 'three';

export default function ScenePage() {
    const mountRef = useRef<HTMLDivElement>(null);

    useEffect(() => {
        const width = mountRef.current?.clientWidth ?? window.innerWidth;
        const height = mountRef.current?.clientHeight ?? window.innerHeight;

        const scene = new THREE.Scene();
        const camera = new THREE.PerspectiveCamera(75, width / height, 0.1, 1000);
        camera.position.z = 2;

        const renderer = new THREE.WebGLRenderer({ antialias: true });
        renderer.setSize(width, height);
        mountRef.current?.appendChild(renderer.domElement);

        const geometry = new THREE.BoxGeometry();
        const material = new THREE.MeshNormalMaterial();
        const cube = new THREE.Mesh(geometry, material);
        scene.add(cube);

        function animate() {
            cube.rotation.x += 0.01;
            cube.rotation.y += 0.01;
            renderer.render(scene, camera);
            requestAnimationFrame(animate);
        }
        animate();

        return () => {
            renderer.dispose();
            mountRef.current?.removeChild(renderer.domElement);
        };
    }, []);

    return <div ref={mountRef} style={{ width: '100%', height: '99vh' }} />;
}
Or...clone the repo at branch: 01-init
2. The Blender → Browser Pipeline
Blender is our modeling and animation hub. We’ll use the .glb format for exporting clean, optimized models with animations baked in.
For a Blender Export Test:
- Make a new file
- Remove everything from the scene with A → X → "Delete"
- Make a Monkey! Shift + A →
Mesh→Monkey - Make it gold! Add a material
- Hex:
#FFD700FF - Metallic:
1 - Roughness:
0.2
- Hex:
- Export settings:
- Format:
.glb - Transform:
+Y Upthis should be checked - Name meshes in the
Outlinefor referencing programmatically
- Format:
Copy Draco Decoder Binaries → public/jsm/libs/draco/
// Load GLTF model
const dracoLoader = new DRACOLoader();
dracoLoader.setDecoderPath('/jsm/libs/draco/');
const gltfLoader = new GLTFLoader();
gltfLoader.setDRACOLoader(dracoLoader);
gltfLoader.load('/models/suzanne.glb', (gltf) => {
    console.log("loading suzanne...")
    scene.add(gltf.scene);
});

// Debug
scene.add(new THREE.GridHelper(10, 10)); // size, divisions
scene.add(new THREE.AxesHelper(5)); // length of x/y/z axes

// Orbit Controls
orbitControls = new OrbitControls(camera, rendererManager.domElement);
orbitControls.minDistance = 2.0;
orbitControls.maxDistance = 10.0;
orbitControls.enableDamping = true;
orbitControls.target.copy(new THREE.Vector3(0, 0, 0));
Or...clone the repo at branch: 02-glb-import
3. Making It Interactive
Now let’s give users something to do. We can add clickable areas to meshes with raycasting and onPointerDown
// Raycasting
const raycaster = new THREE.Raycaster();
const mouse = new THREE.Vector2();

// Click Interaction
const onPointerDown = (event: PointerEvent) => {
    const rect = renderer.domElement.getBoundingClientRect();
    mouse.x = ((event.clientX - rect.left) / rect.width) * 2 - 1;
    mouse.y = -((event.clientY - rect.top) / rect.height) * 2 + 1;

    raycaster.setFromCamera(mouse, camera);
    const intersects = raycaster.intersectObjects(scene.children, true);

    const suzanneHit = intersects.find((hit) => hit.object.name === 'Suzanne');
    if (suzanneHit && suzanneMesh) {
        isSpinning = !isSpinning;
        if (isSpinning) {
            spinTarget = suzanneMesh.rotation.y + Math.PI * 2 * 5; // one full spin
            spinProgress = 0;
        }
        console.log(`🌀 Suzanne ${isSpinning ? 'started' : 'stopped'} spinning`);
    }
};
Or...clone the repo at branch: 03-interactivity
4. Hooking Up Blender Animations
Time to make your scene really come alive.
- Keyframing animations in Blender
- Loading animation clips via
useAnimations - Triggering them with React state and refs
When loading the .glb import the animations to the mixer so can loop over them onClick to play.
gltfLoader.load('/models/suzanne2.glb', (gltf) => {
    gltf.scene.traverse((child) => {
        if ((child as THREE.Mesh).isMesh && child.name === 'Suzanne') {
            suzanneMesh = child;
            console.log('✅ Suzanne mesh found');
        }
    });
    scene.add(gltf.scene);

    // Load animations to mixer
    if (gltf.animations.length > 0) {
        mixer = new THREE.AnimationMixer(gltf.scene);
        animationActions = gltf.animations.map((clip) => {
            const action = mixer.clipAction(clip);
            action.setLoop(THREE.LoopOnce, 1);
            action.clampWhenFinished = true;
            return action;
        });

        console.log('✅ Animations loaded:', gltf.animations.map((a) => a.name));
    }
});

// Animate
const animate = () => {
    requestAnimationFrame(animate);

    if (mixer) mixer.update(0.016); // or use delta time with THREE.Clock

    orbitControls.update();
    renderer.render(scene, camera);
};

animate();
Or...clone the repo at branch: 04-animations
5. UX Tips for 3D Web Design
3D is powerful, but easy to overdo. Here's how to keep it usable.
- Don’t animate everything; focus user attention
- Camera limits: orbit controls should feel intentional
6. Final Touches
Structure matters for scale and maintenance.
- Organizing GLTF assets and code modules
- Performance: reduce poly count, compress textures
- Accessibility: fallback for touch devices, no-WebGL
- Decoupling scene logic from UI state
--
Conclusion
You now have the tools to create rich, animated, and interactive 3D web scenes.
Try It Yourself
DM me if you build something cool, I'd love to see it.